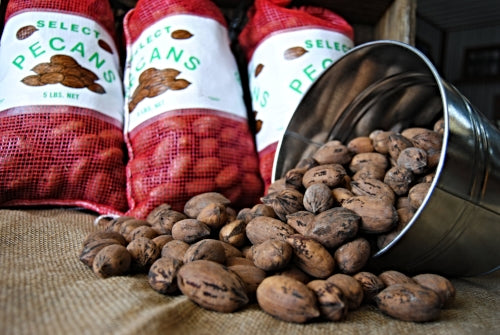
Sometimes you just have to treat yourself, am I right? We all know pecans are the ultimate super-snack, super-nut and super-ingredient that boast more than 19 vitamins and minerals, so it makes it pretty easy to make any recipe healthier. But I am breaking down and sharing with you one of those recipes that will soon be your favorite go-to cheat recipe.
These aren’t just your average cinnamon rolls. These are those you want to make when you have friends to share them with because trust me- eating just one is a challenge.
Why I Love This Recipe:
- Besides cinnamon rolls being my one of my favorite foods (besides pecans, of course ;) ), these also have a delightful coating that adds incredible flavor and a little bit of texture. Mmmm, it’s delicious!
- After the dough has risen, you can refrigerate for up to 3 days and then proceed with the recipe. So feel free to make ahead before a busy weekend and finish up one morning so they are fresh.
- You can add pecans to the filling, the bottom of the rolls and the top. Add as many as you like or as little as you like. We love pecan-friendly recipes, which is pretty much every recipe of course!
Recipe:
Dough:
_______
- 2 cups milk (2% or whole)
- 1/2 Cup Oil (Vegetable or Canola)
- 1/2 Cup Sugar
- 1 Package Active Dry Yeast (2 1/4 teaspoons)
- 4 1/2 Cups All-Purpose Flour, plus more for dusting
- 1 1/2 Teaspoons Kosher Salt
- Heaping 1/2 teaspoon Baking Powder
- Scant 1/2 Teaspoon Baking Soda
Filling:
______
- 1 Cup (2 sticks) Butter
- 1 Cup Sugar
- 2 Tablespoons Ground Cinnamon
Base and Smear:
______________
- 1 1/2 Cups Packed Light Brown Sugar
- 1 Stick (1/2 Cup) Butter, softened, plus more for the skillet
- 2 Tablespoons Honey
- Pinch of Kosher Salt
- 1 Tablespoon Whiskey (optional)
- 1 Teaspoon Vanilla Extract
- 1 Cup Farm Fresh Miller Pecan Pieces (I used small pieces, but any size will work splendidly)
Directions:
- Heat the milk, oil and sugar in a medium saucepan over medium heat to just below a boil. Set aside and let cool to warm.
- Sprinkle the yeast on top and let it sit on the milk mixture for 1 minute. Add 4 cups of the flour. Stir until just combined, then cover with a clean kitchen towel and set aside in a relatively warm place for 1 hour.
- After 1 hour, remove the towel and add the salt, baking powder, baking soda and remaining 1/2 cup flour. Stir thoroughly to combine. Use the dough right away or place in a mixing bowl and refrigerate for up to 3 days, punching down the dough if it rises to the top of the bowl.
- To assemble the rolls: On a floured baking surface, roll the dough into a large rectangle, about 30 inches by 10 inches. The dough should be very thin.
- Preheat the oven to 325 degrees F.
- For the filling, pour the melted butter over the surface of the dough. Use your fingers to spread the butter evenly. Sprinkle over the sugar and cinnamon.
- Roll the rectangle tightly, making sure the seams are closed. When you reach the end, you should have a nice long log-shape. Take a sharp knife to the rolled-up dough and slice 16 equal pieces.
- For the smear and base, cream together brown sugar, butter, honey and salt, then add the whiskey (optional) and vanilla while mixing.
- Butter a 12-inch cast-iron skillet, layer the bottom with the pecan pieces and then scoop 5 large scoops of the smear on atop the pecan pieces. Heat in the oven until the smear is slightly foamy and bubbling, about 10 to 15 minutes.
- Remove the skillet from the oven and place the sliced rolls on top of the melted smear (it's fine to put them on the hot smear). Allow the rolls to rise for 20 minutes.
- Return the skillet to the oven and bake until the rolls are golden brown and the smear is brown and sticky, 20 to 30 minutes (27 minutes is my sweet spot).
- Optional: Once done baking, with thick oven mitts, quickly and carefully flip the cast iron skillet upside down so as to get all the yummy caramelly goodness on the top. (I served right out of the pan and they were perfect!)
- Serve warm and enjoy!


